Wall Mounting Kit Instructions for Jigsaw [art] Puzzle
Wall Mounting Kit Instructions for Jigsaw [art] Puzzle
Wall Mounting Kit Instructions for Jigsaw [art] Puzzle

PREPARE THE WALL
Make sure the wall is clean, dry and not dusty. Don’t stick to delicate, poorly prepared or freshly painted walls. If in doubt, test in an inconspicuous area first.
ON THE WALL
Peel off the protective film, position Panel on wall and press firmly for a few seconds where the sticky tabs are.

OFF THE WALL
Lift the bottom edge away from the wall SLOWLY. Pulling off quickly may damage your wall.
Hi friend, I'm Jerry, your friendly Wall Mounting Kit for Jigsaw [art] Puzzles. I'll help you mount your beautiful jigsaw art onto your walls. Just follow the instructions below then sit back and admire all your hard work.
ASSEMBLE YOUR JIGSAW
Piece together your puzzle (Again? What fun!) on something you can flip, like a book. When complete, place something rigid on top to make a sandwich, then flip it over.
DETERMINE STICKER SIZE
- BORDER OR NO BORDER?
To mount your puzzle with their border skip this step. To mount your puzzle without its border, you need to trim the mounting sticker along the dotted lines printed around the edge.
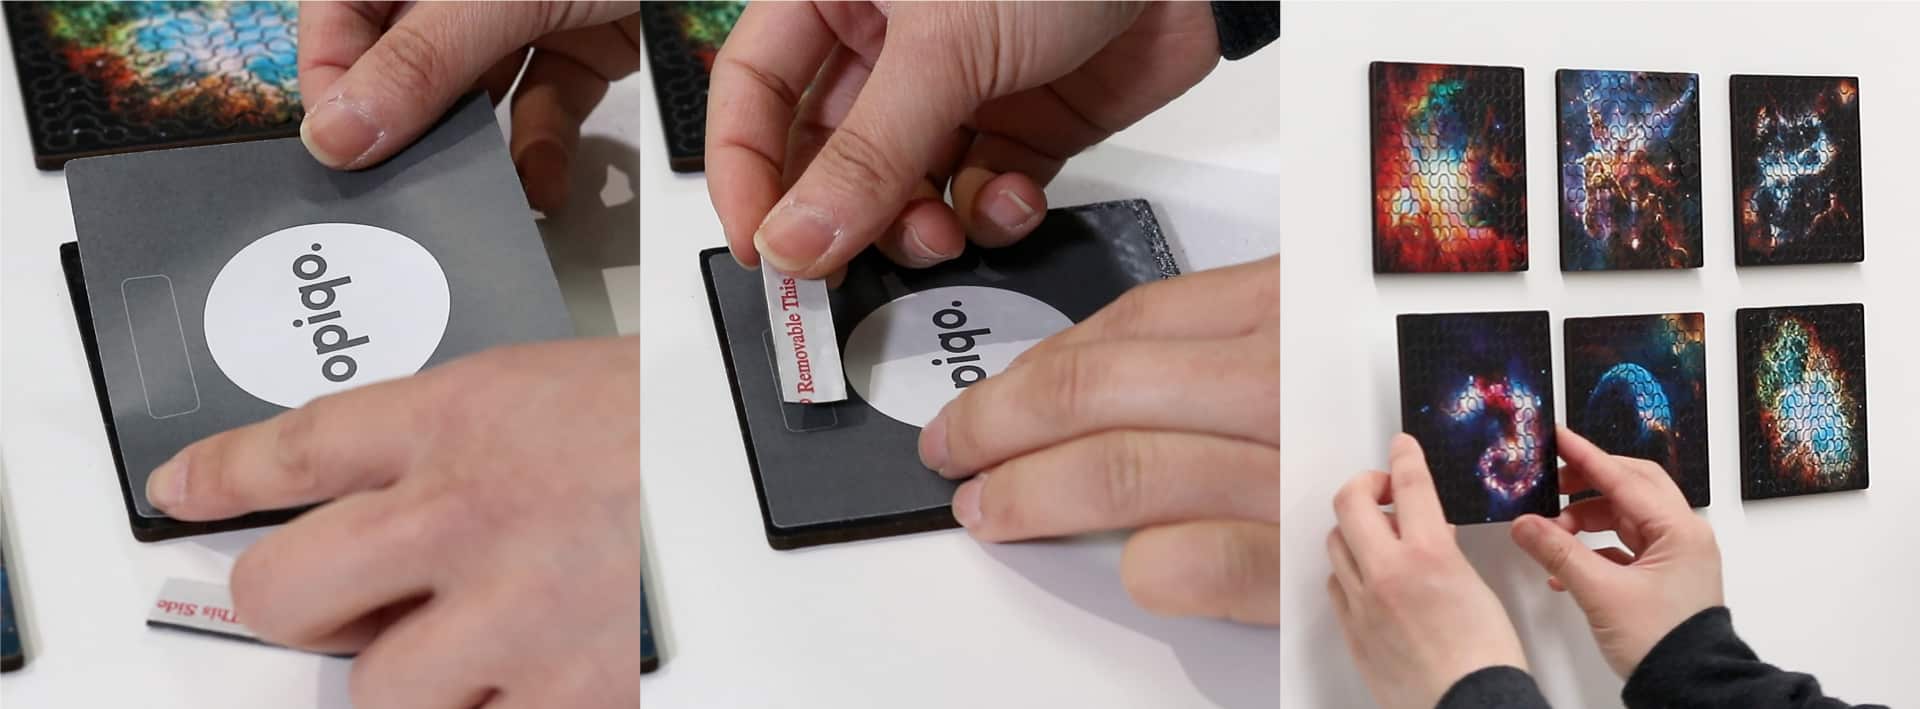
APPLY THE MOUNTING STICKER
Peel off the mounting sticker and apply it to the back of your puzzle (be careful as this is permanent). Snip off two pieces of the sticky foam tape and apply them to the small grey squares on the backing sticker.
MOUNT ON WALL
Gently align your puzzle on the wall and once you’re happy with the position, push firmly where the sticky tabs are.
TO REMOVE FROM WALL
Gently and slowly pull the puzzle off the wall from the bottom. It is normal for the foam tape to split so we’ve included extra for future mounting. Gently peel off any tape remaining on the wall.
THE TINYME 3 STEP GUIDE TO CREATING YOUR PANEL BY TINYME MASTERPIECE
BEFORE YOU START: Your Panels will stick to most clean, flat, painted or glass surfaces. For freshly painted walls allow a 3 week drying period.
Before applying you should make sure the surface is clean, dust-free and dry.
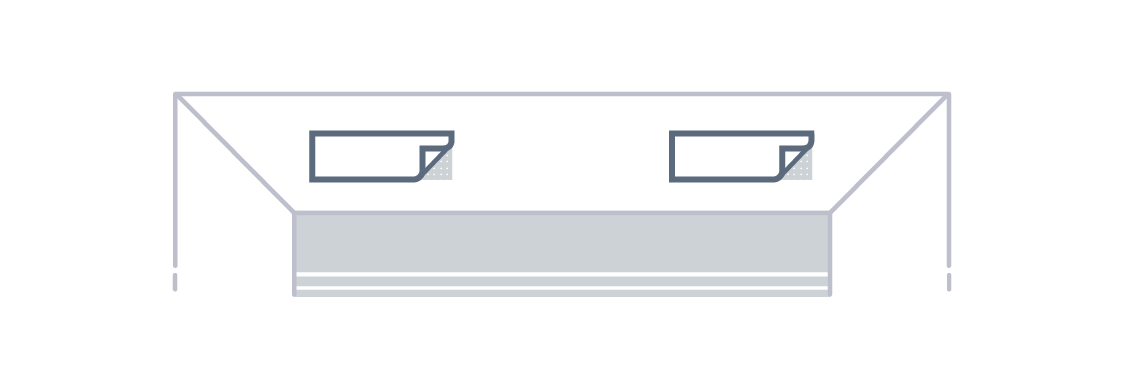
STEP 1. Place the little sticky dots provided onto the dotted circles on the back of your panel then peel back the protective covers.
STEP 2. Align your panel to the wall & press firmly for 30 seconds
STEP 3. Stand back and admire your masterpiece
REMOVING AND RE-USING YOUR PANELS: Using both hands, carefully lift your panel up from the bottom (like opening your car boot). Removing panels from your wall shouldn't damage or leave residue, but it is important to be careful while doing this in case the wall has been poorly prepared. Re-apply your panels by following steps 2 and 3.
Login and Registration Form